How to Deploy a React Static App with GitLab Auto DevOps and Cloud Native Buildpacks in 4 Steps
Learn how to build, test, deploy, and monitor your React Static app with GitLab Auto DevOps and Cloud Native Buildpacks with Paketo
Background
React Static
React Static is a great way to take the robust front-end SPA framework many developers know and love, React.js, and couple it with a static website engine to improve overall UX and SEO. Use the same reusable components, polymorphism, hooks, etc. you would normally use, but render the website down to individual HTML, CSS, and JS pages and build site metadata. This way, web scrappers can quickly load each individual page and read the important tags, metadata, and links, something that a SPA can't do.
In most cases, React Static's built artifacts are published to a web server like NGINX or pushed to a blobstore like S3, but sometimes you might want to bundle the pre-rendered HTML, CSS, and JS inside a container to run inside of existing or familiar tools like Docker or Kubernetes without sacrificing the UX and SEO benefits. This is where the buildpack approach will come in handy. Plus, GitLab Auto DevOps is already configured to containerize your application using either Docker or Buildpacks.
GitLab Auto DevOps
GitLab is a robust DevOps platform that allows development teams to manage all aspects of their projects, from backlog management to version control, from build automation to vulnerability scanning, from continuous deployments to app monitoring. Essentially, everything you need to shift security and operations left into your automation workflow is included in GitLab.
One of the most powerful components of Gitlab is Auto DevOps. It uses an already power CI engine to provide out-of-the-box, batteries included but swapable, CI/CD pipeline. This pipeline is pre-configured to build your app into a container image, scan and test it, and deploy it to production - all without having to write or maintain that pipeline yourself.
Cloud Native Buildpacks
When containerizing an application, it's quite typical to use a Dockerfile. It can be very declaratively explicit and lets you run various build or setup commands before your app is fully bundled in an ephemeral container image. One struggle that comes with Dockerfiles is they tend to be very stale. The base image you start with is typically the base image you use for a very long time. Unless something breaks or a big vulnerability is detected, most people don't touch it.
Cloud Native Buildpacks automate building an app in a container image. You provide the source code, and the base image and runtime bits needed to run your app are automatically provided. This means you can rest easy knowing with each build of your app, you have the latest and greatest working stack, and you never have to manage a Dockerfile.
Step 0: Project Setup
React Static
If you haven't already, you will want to create a new React Static application.
$ npx react-static createGitLab Project
To take advantage of GitLab Auto DevOps, you will need to create a free GitLab.com account and create a repo.
If you don't yet have an account, you can sign up here.
Once you have an account created, create an empty project, uncheck Initialize repository with a README, and follow the instructions GitLab provides for Push an existing folder, which should look similar to the following: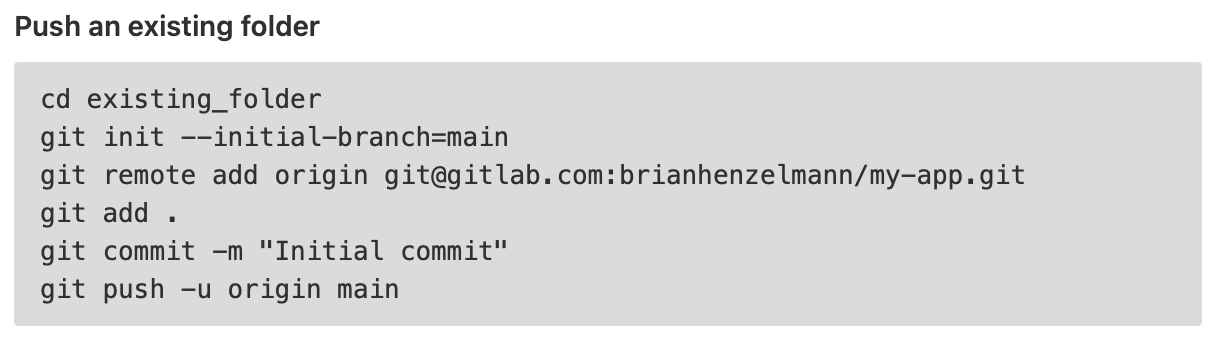
Kubernetes Cluster
In order to fully deploy your application with GitLab Auto DevOps, you do need GitLab connected to a Kubernetes cluster. You can skip this step if you only want to build the container image and deploy on your own. Otherwise, you can follow the instructions to connect an existing Kubernetes cluster or to create a new one in this GitLab article.
Step 1: Updating package.json
The out-of-the-box scripts generally don't need to be touched, but one of the best ways to start using Cloud Native Buildpacks requires using Node.js to be the web server rather than moving the static output of a React Static bundle to an existing web server. The buildpack will detect the project is a Node.js app and will assume the npm start command will start up a server and port-bind to the PORT environment variable. Additionally, since React Static comes with the serve dev dependency, it's easily repurposed to serve the final build.
1. Change the npm start script
Because a React app is treated as a Node application, the pack CLI assumes the npm start script is used to run the built version of your app. Because of this, the buildpack would try to run the default react-static start, which will not render the app statically down to HTML, CSS, and JS. You are essentially missing the benefits of React Static at that point. You will have an easier time if you change the start command in package.json to be:
"start": "serve dist -p $PORT"2. Add an npm run dev script
In lieu of the original npm start script, make a new npm run dev script by adding the following to the scripts in package.json:
"dev": "react-static start"3. Move serve from devDependencies to dependencies
Now that the npm start script references serve, you need to move it the dependencies list so it is included in the final build.
(Optional) 4. Add --staging to the build script
If you want to deploy this containerized app in multiple locations with different domains, you probably don't want the hardcoded URL that React Static adds to the HTML files, so you will want to add the --staging flag to the npm run build script.
Updated package.json
{
  "name": "react-static-example-basic",
  "scripts": {
    "start": "serve dist -p $PORT",
    "dev": "react-static start",
    "build": "react-static build --staging",
    ...
  },
  "dependencies": {
    ...
    "serve": "^11.3.2"
  },
  "devDependencies": {
    ...
  }
}
Step 2: Run Locally
It's highly recommended to try the build locally so you can troubleshoot issues faster, like if an npm script doesn't run as expected. If you want to roll the dice, you can skip this step.
To test the containerization locally, you will need to have Docker and pack installed.
With both installed and the Docker daemon running, run the following inside your project directory:
$ BP_NODE_RUN_SCRIPTS=build pack build my-app --builder paketobuildpacks/builder:baseTo breakdown what's running, Paketo is a specific set of buildpacks and builders, and in this case, it does a great job allowing you to define how to buld the app.
BP_NODE_RUN_SCRIPTS tells the builder to run npm run build prior to bundling the app as a container, so after it runs, the container image should have the dist directory included.
To run the build container image locally, run the following command:
$ docker run -p 5000:5000 -e PORT=5000 my-app:latestStep 3: Set GitLab Variables
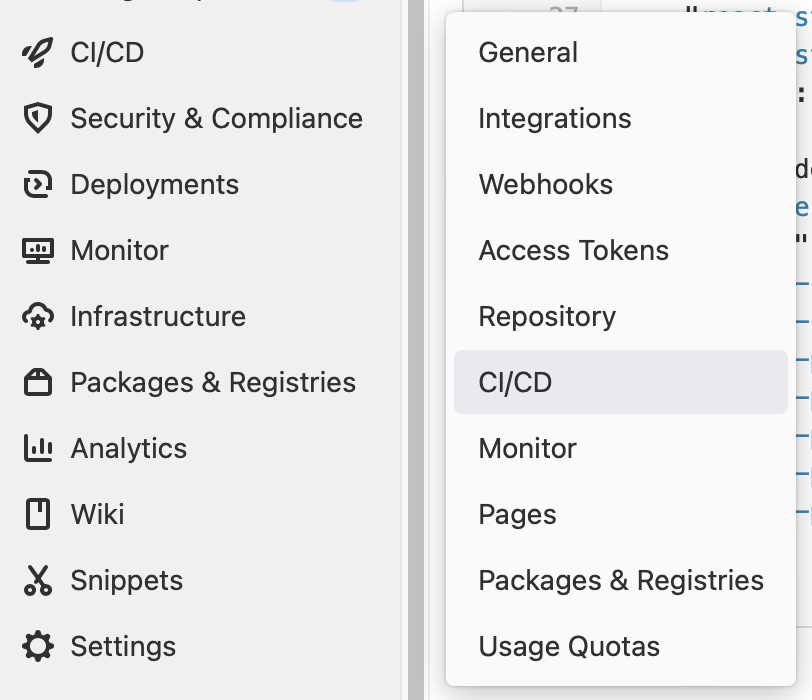
With the code pushed to a GitLab repository, go to the projects Settings > CI/CD.
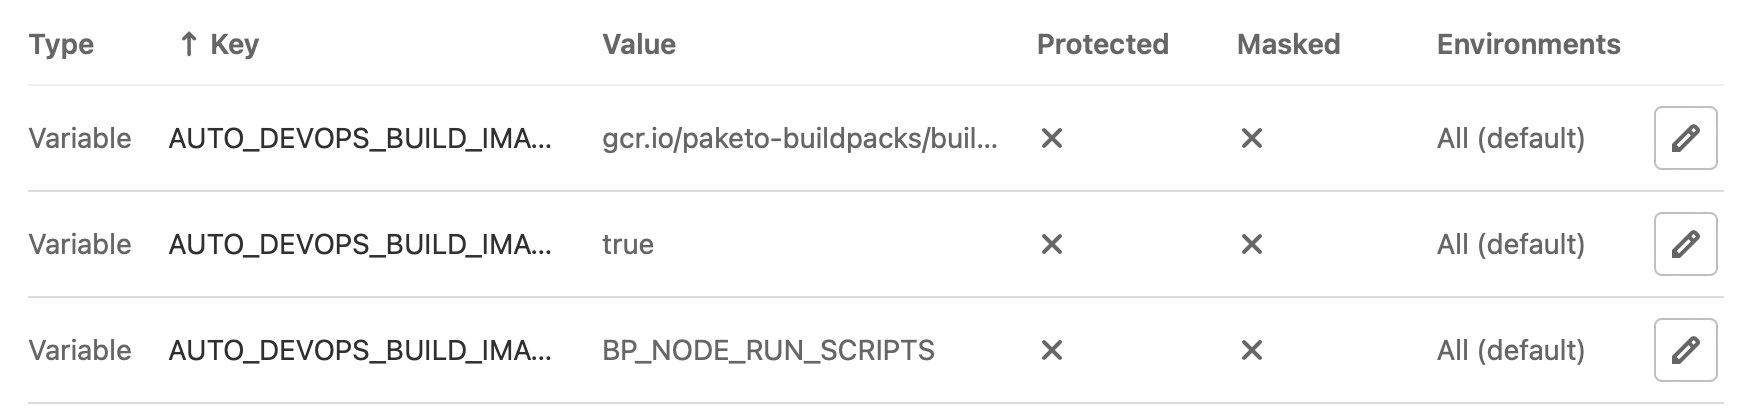
Before enabling Auto DevOps, expand Variables. For each of the following, click Add variable, and in the form, set the values below:
- Key:
AUTO_DEVOPS_BUILD_IMAGE_CNB_BUILDER
Value:gcr.io/paketo-buildpacks/builder:base - Key:
BP_NODE_RUN_SCRIPTS
Value:build - Key:
AUTO_DEVOPS_BUILD_IMAGE_CNB_ENABLED
Value:true
These variables tell GitLab Auto DevOps to use:
- Cloud Native Buildpacks instead of the default Heroku buildpacks
- Paketo buildpacks specifically
- The
npm run buildscript in the build process
Step 4: Enable GitLab Auto DevOps
Now expand Auto DevOps and click Default to Auto DevOps pipeline and select one of the Deployment strategy options.
After clicking Save changes, a pipeline should be triggered automatically.
Confirm Build
With Auto DevOps enabled, your pipeline should run successfully.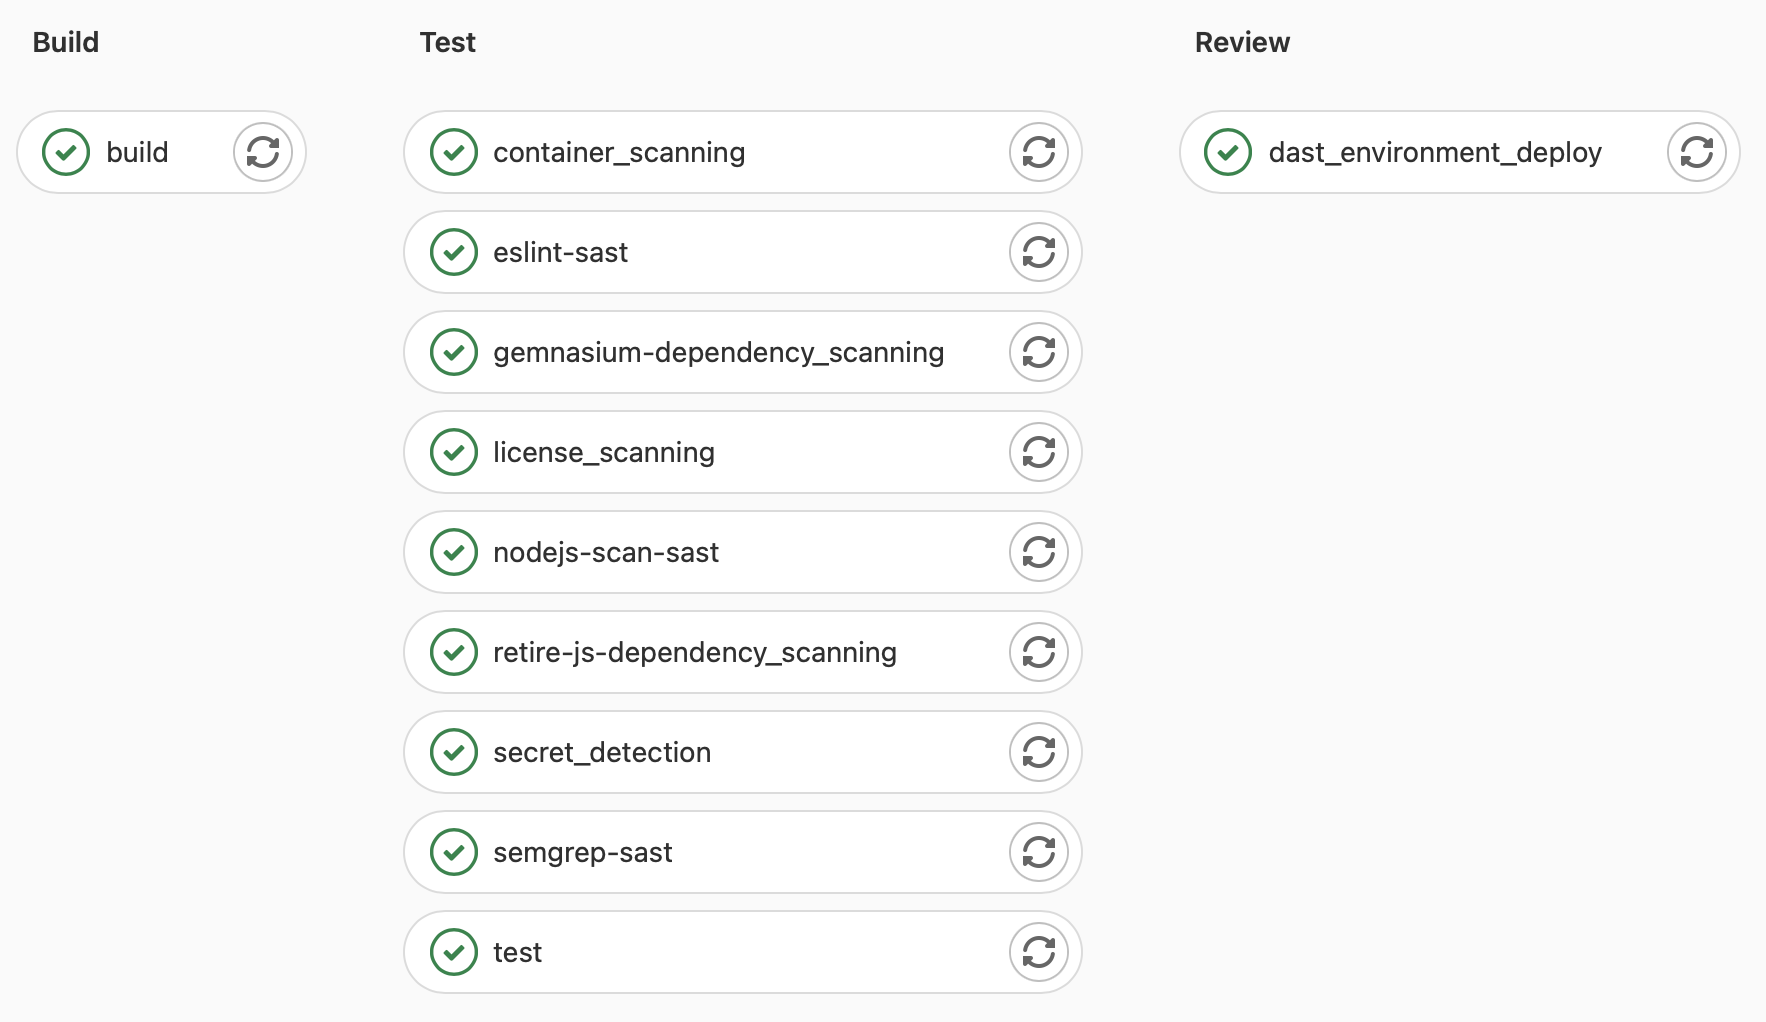
Next Steps
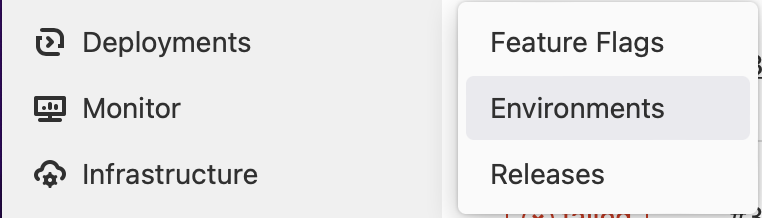
If you configured a Kubernetes cluster with Auto DevOps, you should now have a deployed version of your application. To access it, you could go to Deployments > Environments to open a link. You can also inspect your cluster for either a newly created namespace or a namespace you configured with the KUBE_NAMESPACE environment variable. In there, you should see a new deployment, the deployment's pods, a service, and an ingress route.
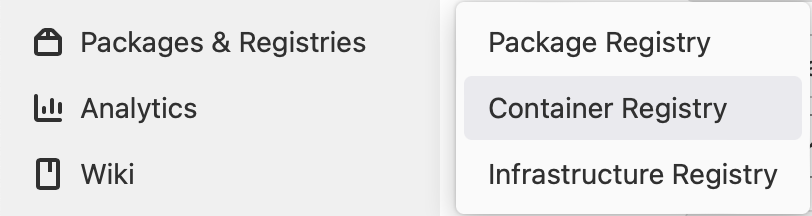
If you did not configure a Kubernetes cluster with Auto DevOps, you should still have access to your built container image inside GitLab's container registry. You can find it in Packages & Registries > Container Registries.
 Last updated: 12/12/2021 by Brian Henzelmann