Level Up Your WordPress Contact Form
Transform your contact form into a workflow engine embedded in your WordPress site or blog.
Cross posted from original Pingum.io blog.
Does this sound familiar?
You did it - you made a successful website that's driving tons of users to your content. People aren't just finding your site, but they're actually staying there.

All of a sudden, your old contact form you threw up on your WordPress site is filling your inbox, and you find it difficult to keep track of all the comments, requests, orders, and subscriptions inside the WordPress admin dashboard - and that's all if you can even filter out the real from the fake.

Maybe you're fortunate enough to have a team to help you sift and triage, but let's be honest - that comes with its own set of problems. Now your time is spent coordinating instead of focusing on what was driving your users to your site in the first place.
After looking through and trying out some of the available plugins, you realize none of them are really making your workflow easier. You know you can probably find a better way to manage this. Maybe you've considered managing in a spreadsheet, hiring a developer, or even brushing up on your PHP skills to build something yourself. But is that really something you want to be spending your time on?
Funnel user requests into a defined workflow
We want to help you organize how users interact with you and your team. As your business scales, you need your processes and systems to scale with it. Defining workflows for requests coming into your site will help you organize, prioritize, and delegate work coming out of your website.
How it works
Pingum is an easy to use and completely custom workflow engine. It allows you to define statuses, custom fields, and tags for requests that can come directly from your website.
Once requests are made from your website, the right people will be notified based on their own notification settings or the settings you make for them.
Each workflow has its own group of statuses that help you stay organized.
When the request is complete, Pingum can automatically update the person who made the request.
All of this in a centralized, purpose built online tool.
Try it in minutes with 4 easy steps
1. Create a Free 14 Day Trial Account
First, you will need to have a Pingum account. You can sign up for a free trial in a matter of moments, no credit card required.
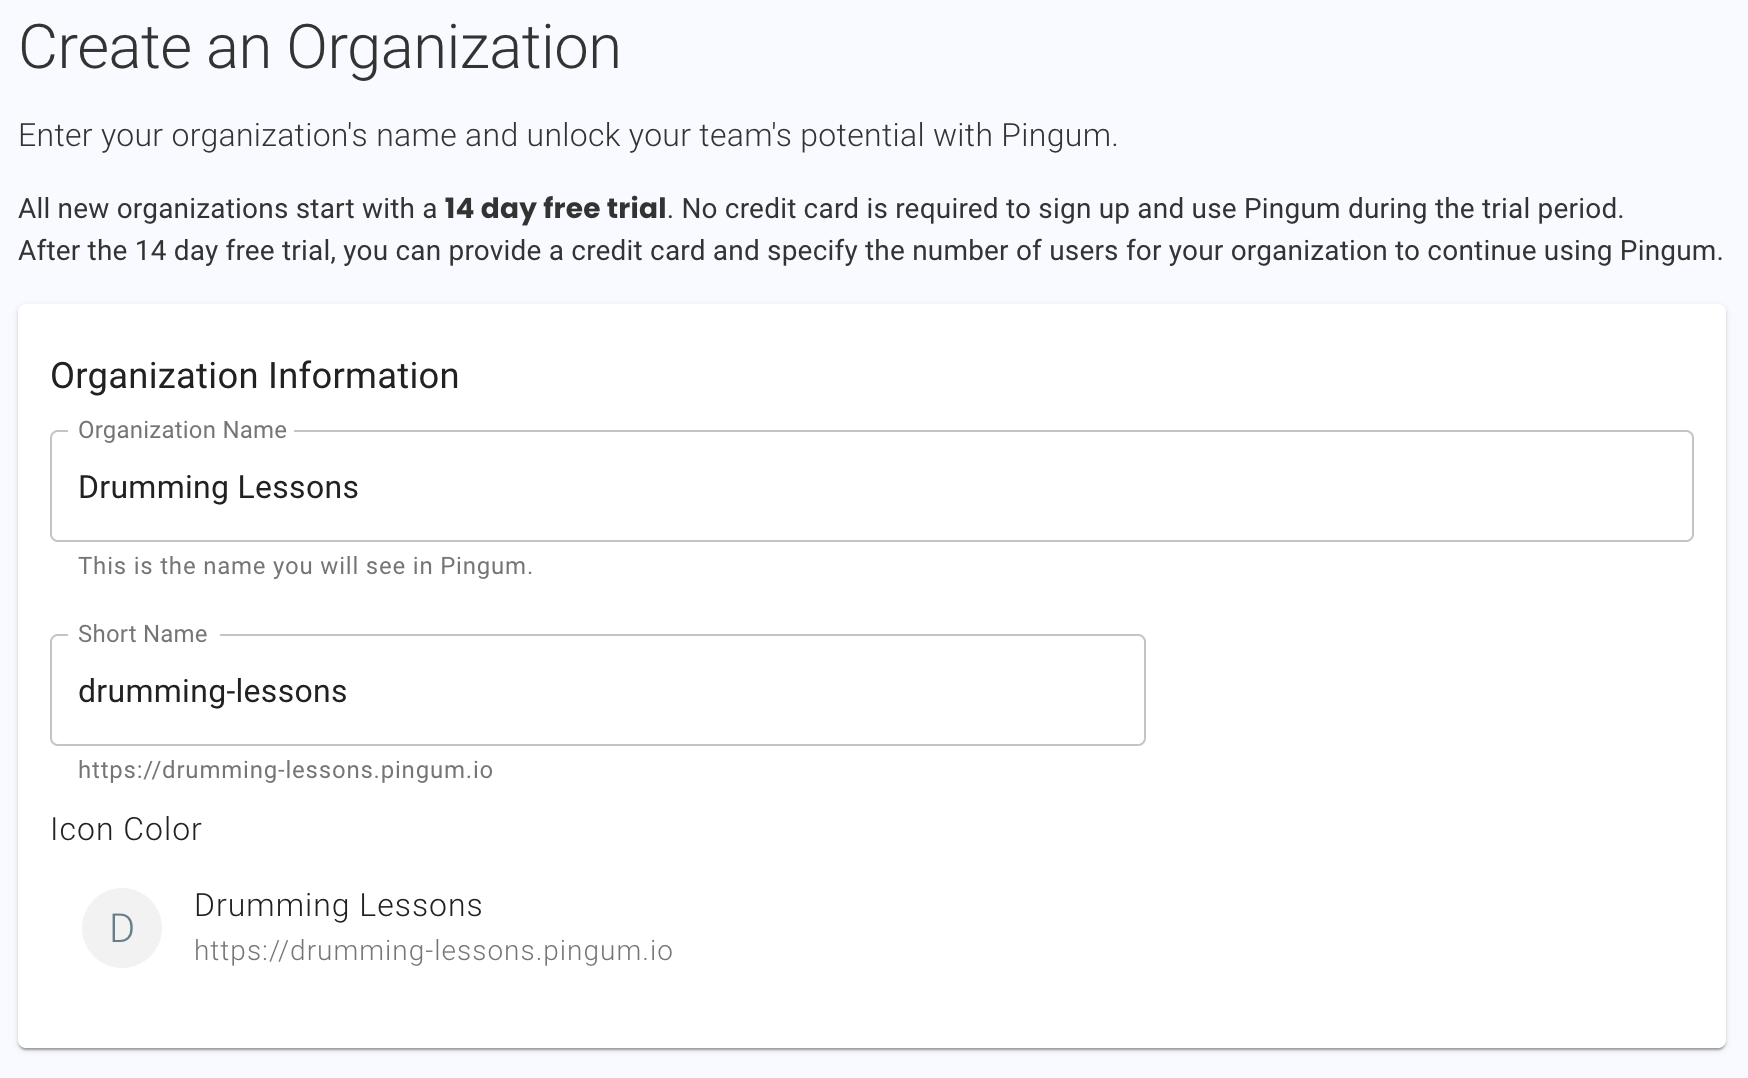
Pingum is meant to be used by one or more people who are part of an organization. You will need to provide a name for your organization which will generate a unique Pingum URL where you will access all of your requests.
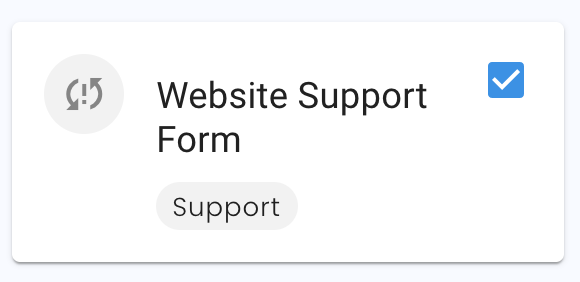
We provide a list of starting templates to make getting started easier. Each will pre-populate your account with workflows, public forms, custom fields, and statuses that let you quickly start using Pingum. For this example, we will use the Website Support Form.
2. Locate Form to Embed
After your account is created, you can go to your Forms settings to find your public form.
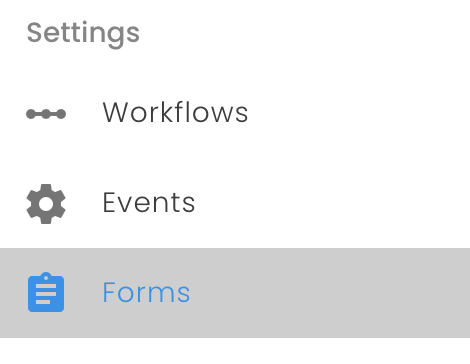
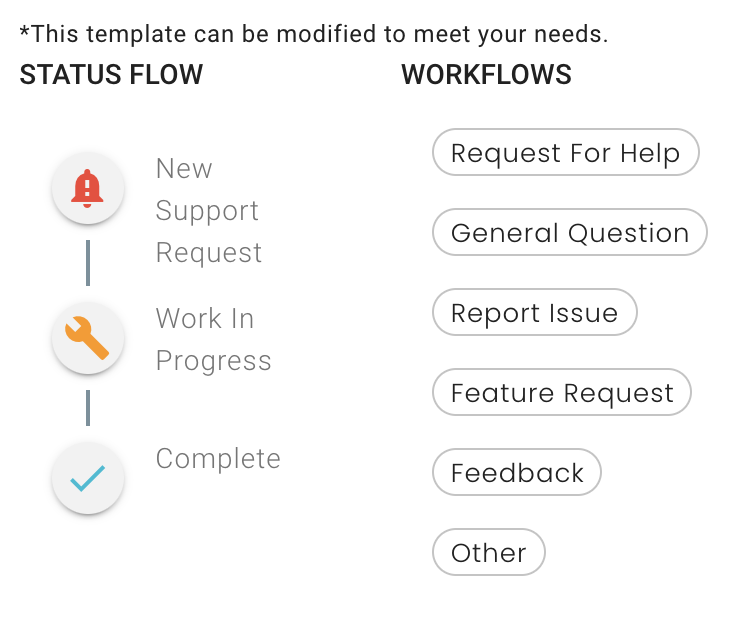
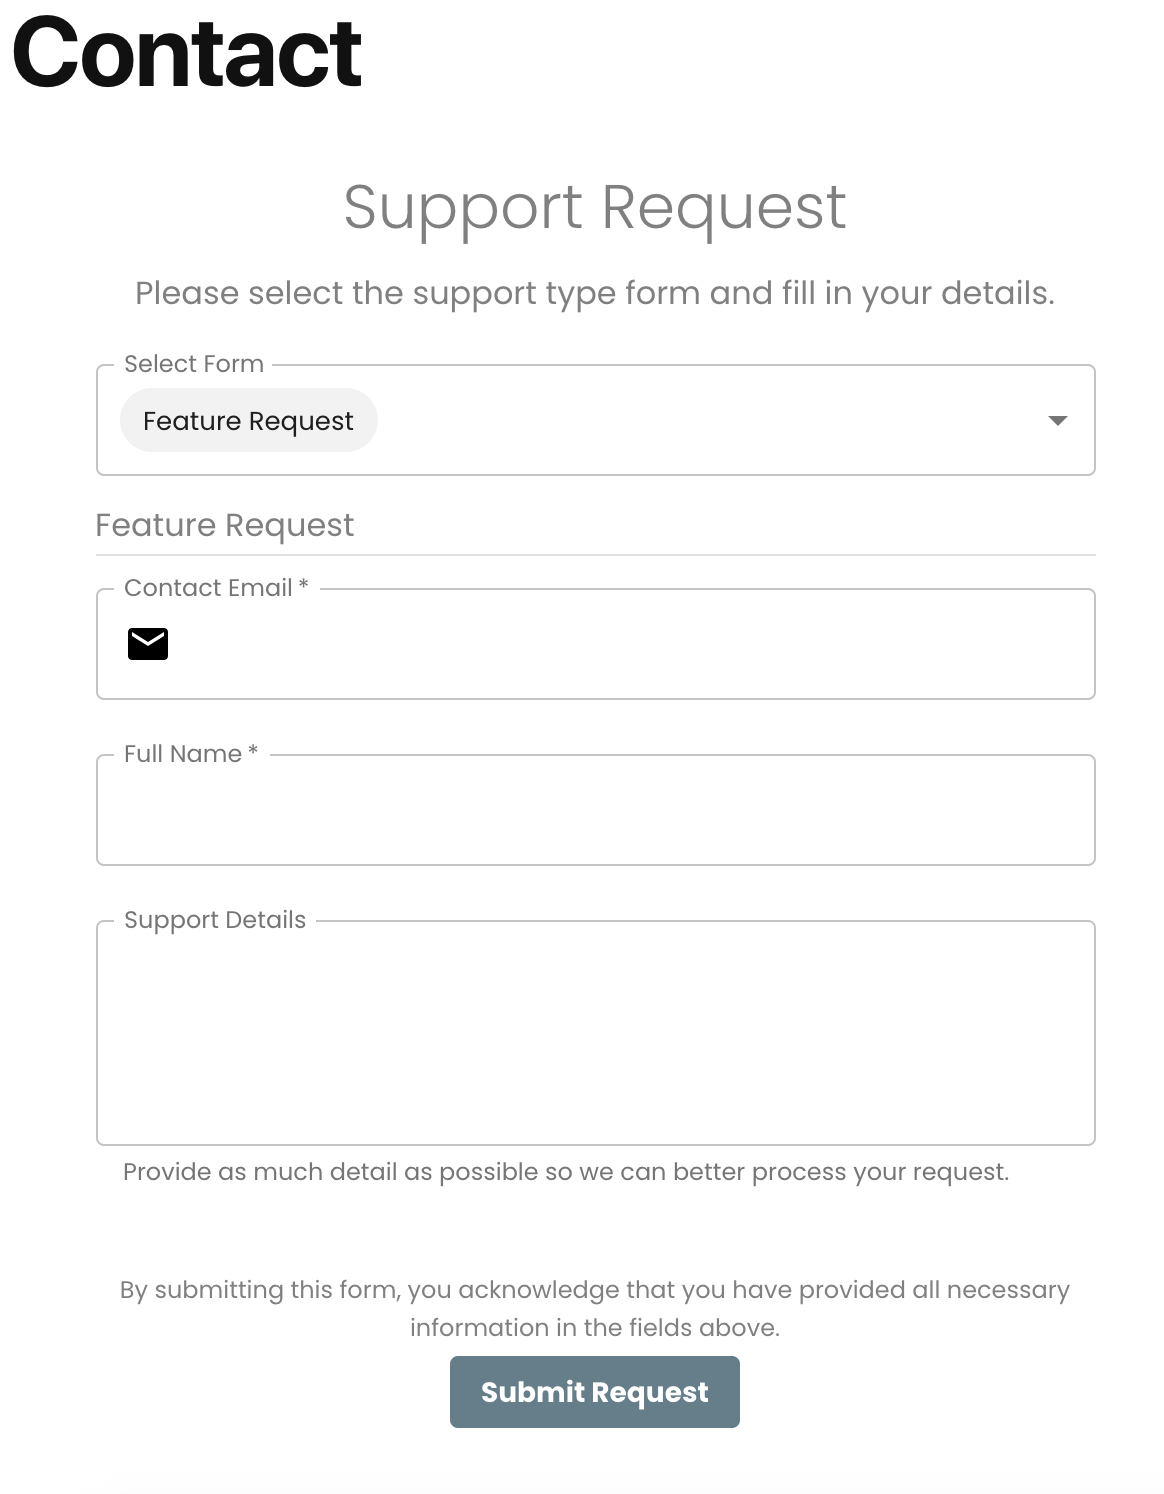
With the Website Support Form, you should see automatically created Support Request form. This is the one we want to embed in our WordPress site.
By default, it will allow your users to provide a new feature request, feedback, a general question, a new issues, or ask for help.
After a user on your website creates a request, you can move the request through the available workflow statuses, comment, and assign to team members. If our default values are not a perfect fit, you can easily change, add, or remove anything.
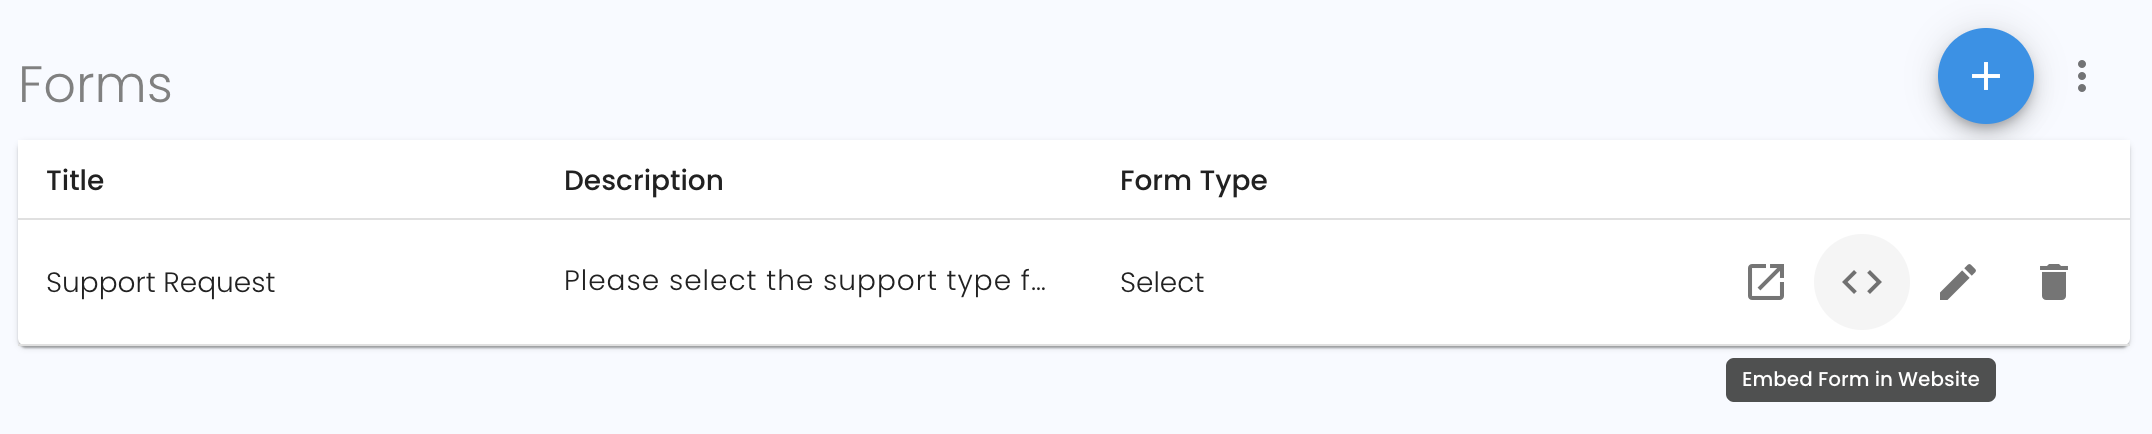
The button will give you a code snippet that you will need to embed this public form inside of your website.
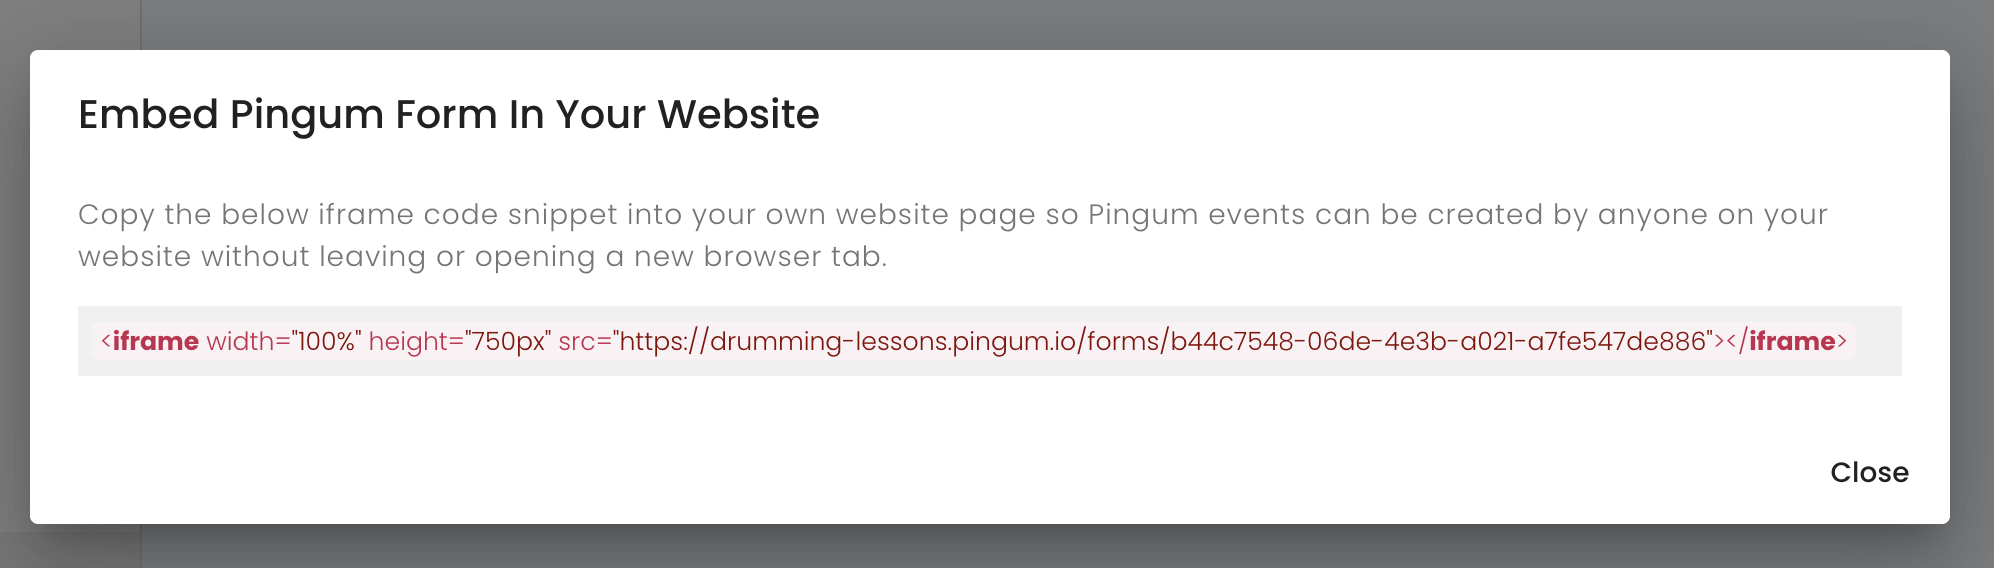
Copy the red code snippet. This is what you will paste inside your website.
3. Add Form to Website
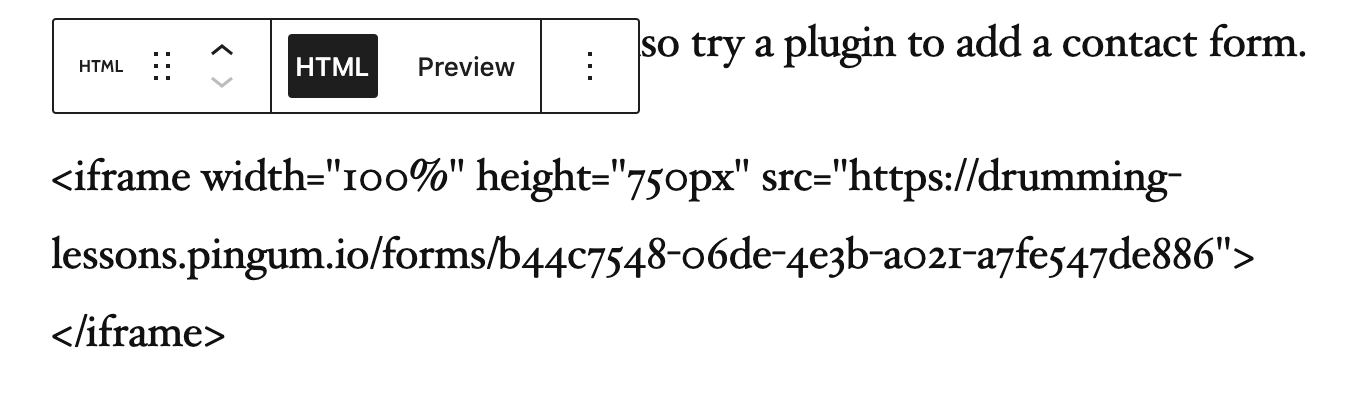
Now that you have the code snippet copied, you can edit the WordPress page you want to contain this new form.

Once you are in your page editor, add a new Custom HTML widget. (The exact step may vary depending on your WordPress version or specific theme).

This will give you a section within your page to paste the copied code snippet.
After you save of preview changes, you will be able to see your new form added to your website.
4. Test Form
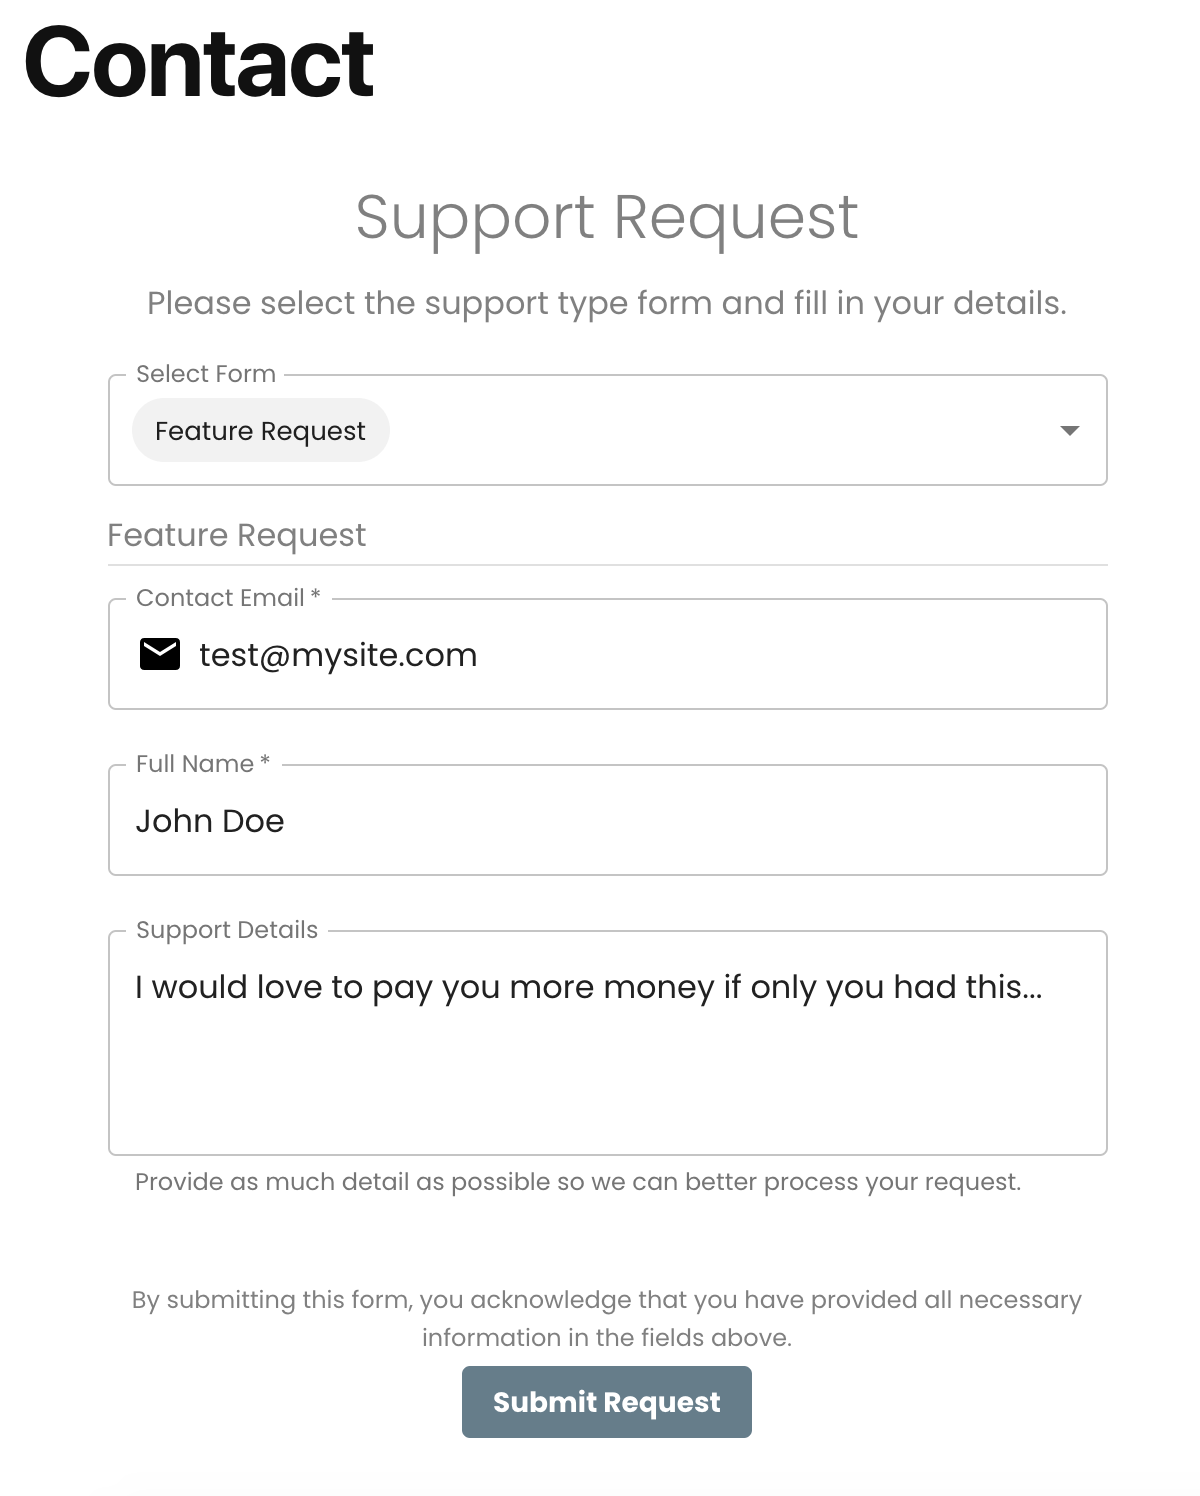
Now that your new form is loaded, test it out by filling in the form.
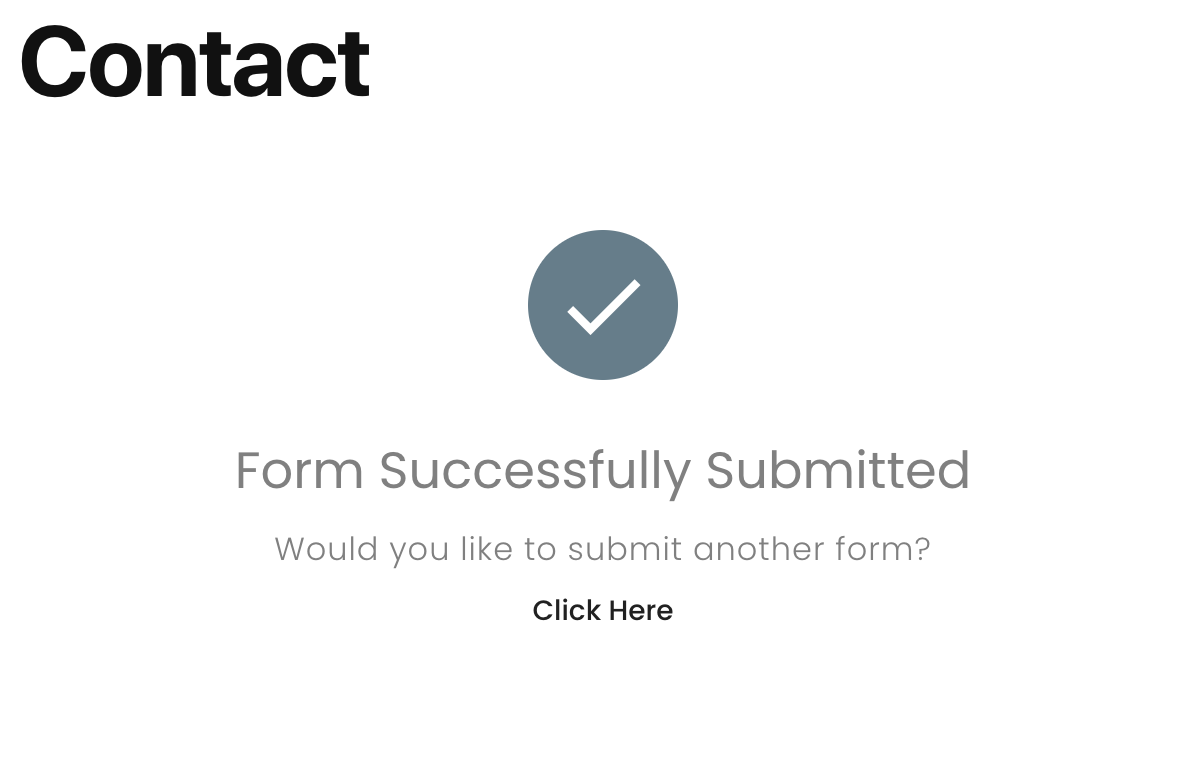
After the form is submitted, you will see a confirmation in your website.
Depending on your notifications settings, you may have also received a notification of the new submission. (By default, you do not receive notifications for your own requests).
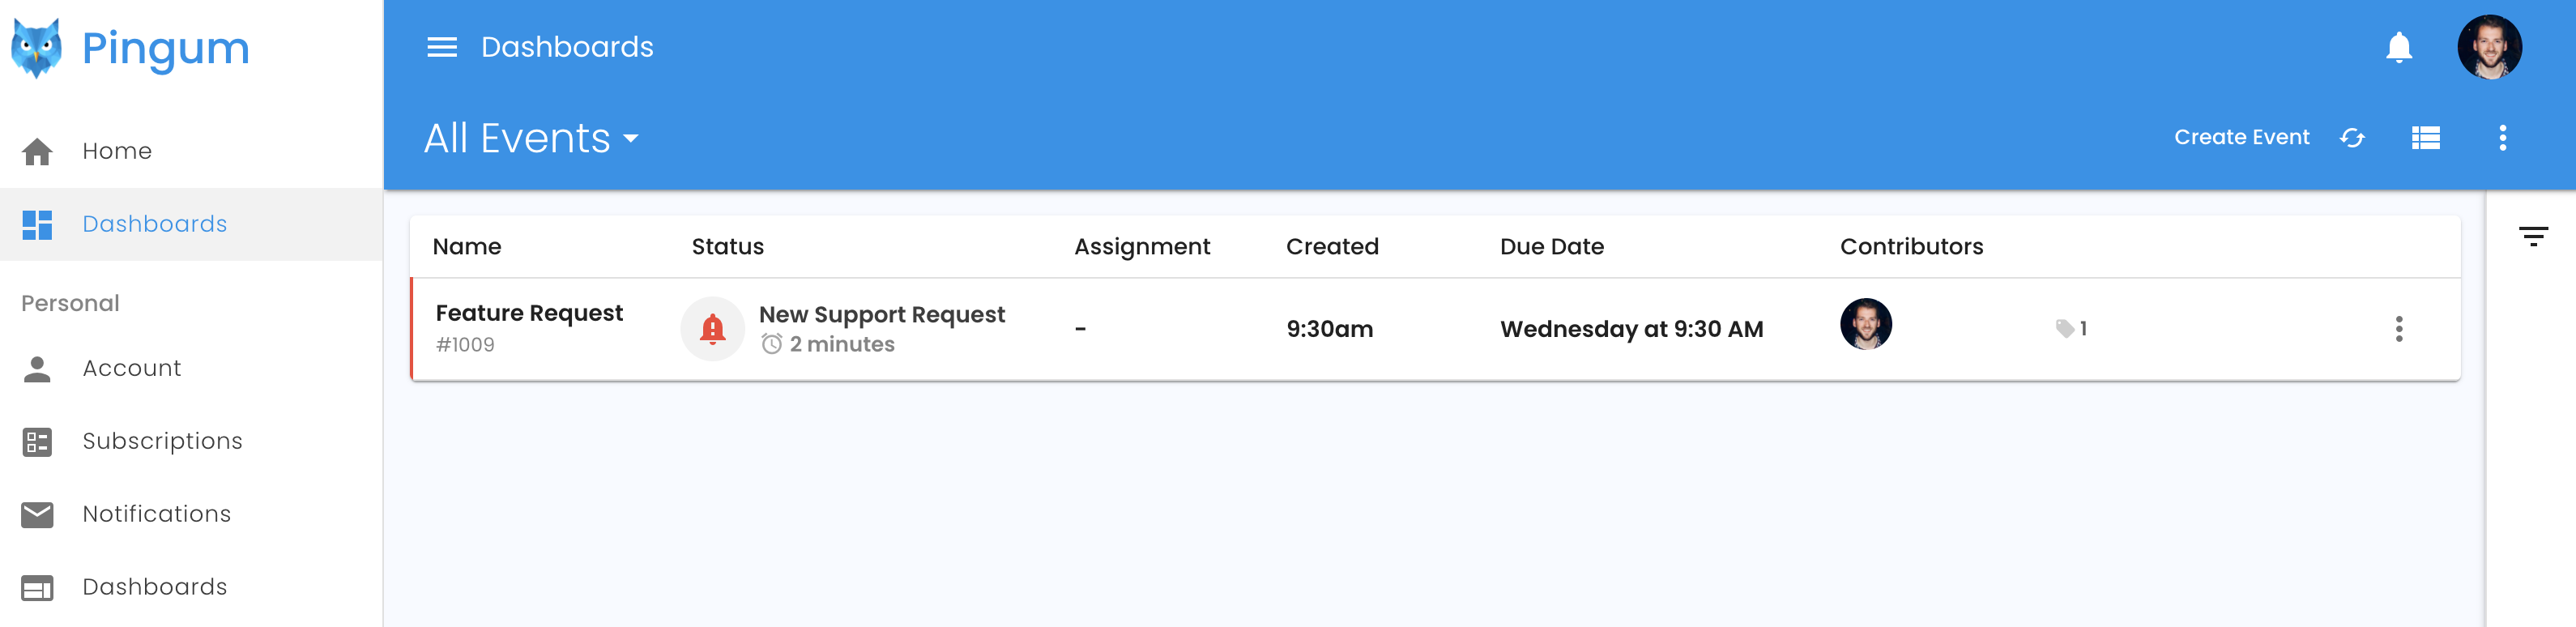
Now that the form is submitted, go back to your Pingum dashboard and see that the request is available.
Next steps
With the new public form added to your website, it has never been easier for you to organize requests that come in. Assign requests to members of your team and they will be notified of the new work. Move requests into statuses to ensure you know what requests are still pending. Update your settings so you are notified for the requests that matter most to you.
Here are some things you may want to explore next:
- Assign requests to members of your team and they will be notified of the new work.
- Move requests into statuses to ensure you know what requests are still pending.
- Update your settings so you are notified for the requests that matter most to you.
- Download our mobile app to stay connected on the go.
You may find that you want to fine-tune the statuses, custom fields, or tags that were created by default for you. We know that as you start using Pingum, you will be thrilled with how much easier it is to stay organized, communicate with your team, and stay up-to-date on the latest interactions with your users.
Check out our other blog posts to see how Pingum can help you.
Last updated: 12/12/2020 by Brian Henzelmann